This little guy started off over a year ago, long before the hair-brained idea of building a dedicated bowl lathe took over my sanity. It had some cracks in it from the onset, but I wasnt scared.
I thought it would be a great time to try out a new medium for filling in cracks just like these. Now just what is this mystery material?
Is it dust from a prized scrap of ebony that you sacrificed? No.
Is it some expensive grain filler you had to special order? Not a chance.
Ill give you a hint. Its "The best part of wakin up, theres Folgers in your"... Wood bowl? Yep thats right, coffee grounds mixed with epoxy make a great filler. I think the end results look promising for future use of this idea. Ill suggest that whenever you do this kind of filling, put as much of the stuff as you can in the void. Id also suggest using epoxy as the base material. Epoxy isnt just a glue, its void filling. Thank means that it will take up a lot of space and still have its structural integrity. Other glues cant perform like this.
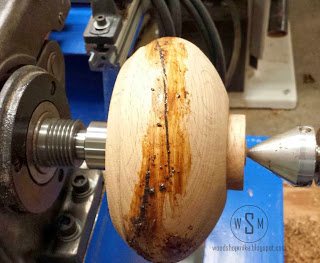
I had a bit of rework to do with this piece. Did I mention it had been sitting for a year? It was very wobbly after remounting it. Look! My spur drive made it! All the way from Axminster in the UK. Here is the bowl to its final shape before sanding.
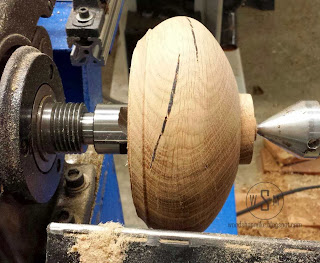
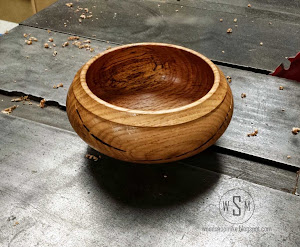
After sanding and burnishing with and old shirt, the coffee filler really pops off of the piece. I wonder if dark roast would be any better?

Here is a quick and easy finish recipe. Equal parts of Tung Oil, Mineral Spirits, and any poly or varnish. I mixed this up in a small bottle so that I can hopefully use it all before the finish dries up.
HERES A TIP!
As you use your finish, remove as much dead volume (air) from the can as possible. The great thing about this little squeeze bottle I that I can compress the sides until the finish almost squirts out the spout and the put the cap on. AWESOME!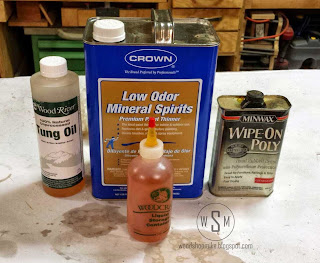
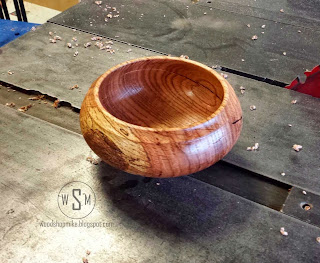
And here it is off the lathe. Ill add a little coffee filler to the inside of the bowl where you can see the cracks coming all the way through. Hopefully Ill be able to scrape down the filler easily and be home free after a few more coats of finish, followed by buffing.

Thanks for reading! If you have any questions, comments, or project suggestions, please leave them below. Have a great day!


0 komentar:
Posting Komentar