

Ive finally gotten back around to working with my vacuum system to hold bowls and small children to the lathe. Just kidding, I dont turn kids... In this post, Ill describe my process for making a vacuum chuck for my lathe. The fun part is that this was done without buying a faceplate!
If you recall, I had a few issues getting my system to pull down to adequate vacuum and changed my design a bit to achieve better performance. Now that Ive gotten all of the kinks worked out of that, lets see if I can make a chuck work on the first pass...
I set out on this project planning to use two sheets of plywood I had laminated to make the base flange. I have a Ø 9" cardboard tube that I was planning to use as my cylinder. Well...after I trued up the plywood disc, I cut a tennon in the bottom to hold in my chuck. The plywood was looking a little weak, so I gave it a test "jiggle" before turning the lathe on. Boy, am I glad I did that. The piece immediately delaminated, leaving the tennon in the chuck and the rest in my hand.

So much for making this work on the first try. Now what?
Lucky I had recently gone with a friend to pickup a CNC and manual mill. This was at a local factory that had closed and we were told "if you see anything in this room you want, its yours." Sweet!!! I stocked up on all kinds of goodies, including lots of delrin and acrylic.
Plan B (not the morning after pill) is to use a piece of delrin as the base flange for my chuck. Now, this is not the Ø 9" chuck I originally set out to make, but it will certainly work for my application. So lets get to it!
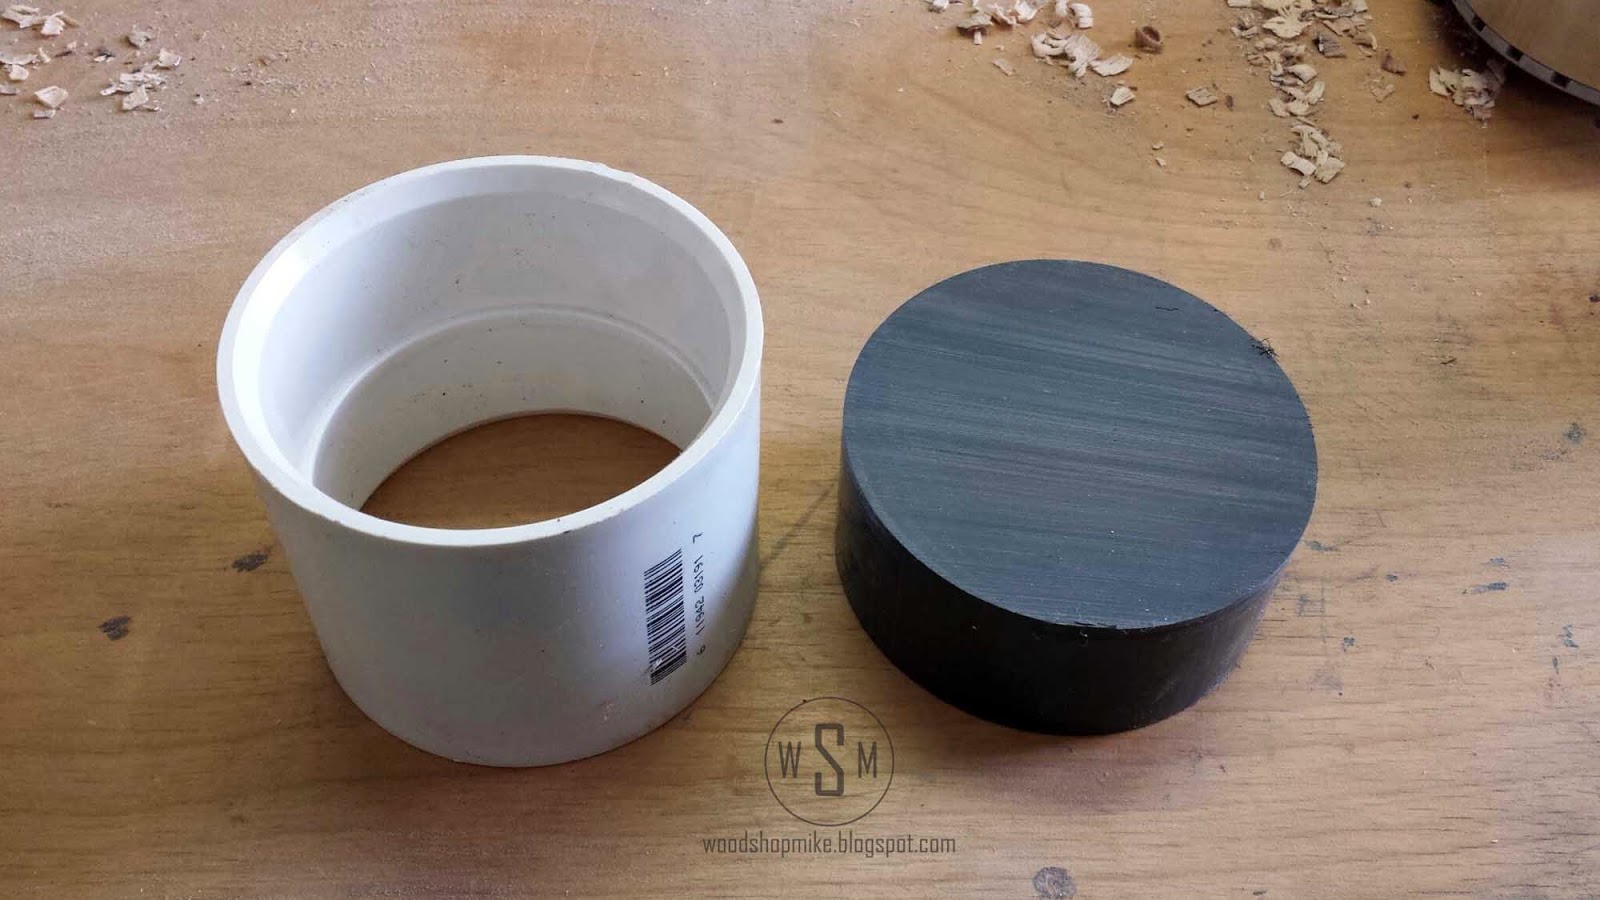
Maybe this is repetitive, but I started by laying out my materials for the chuck body. A disc of delrin ~ Ø 4" and a PVC coupling of similar size.
I started the piece between centers and turned a tennon which I will hold on to in the next step. Turning plastic between centers can be interesting because a spur drive will not bite into the piece very deep. I drilled a small pilot hole for the spur drive to center in. I then used a mallet (off the lathe of course) to make an indention of the spur drive on the piece of delrin. Gentle cuts are in order during this stage. If you get a catch, the spur drive will just spin on the back of the blank. This did happen, but it wasnt too bad.
For my chuck, I want to have an o-ring sit on the base of the spindle to seal up the system as well as I can. To do this, I need an o-ring groove to be cut into the chuck body. I foolishly spent the time making such a feature now... It occurred to me not too much later that this end of the piece would not be sitting against the base of the spindle... Oh, well. Ill just call that wasted time practice.
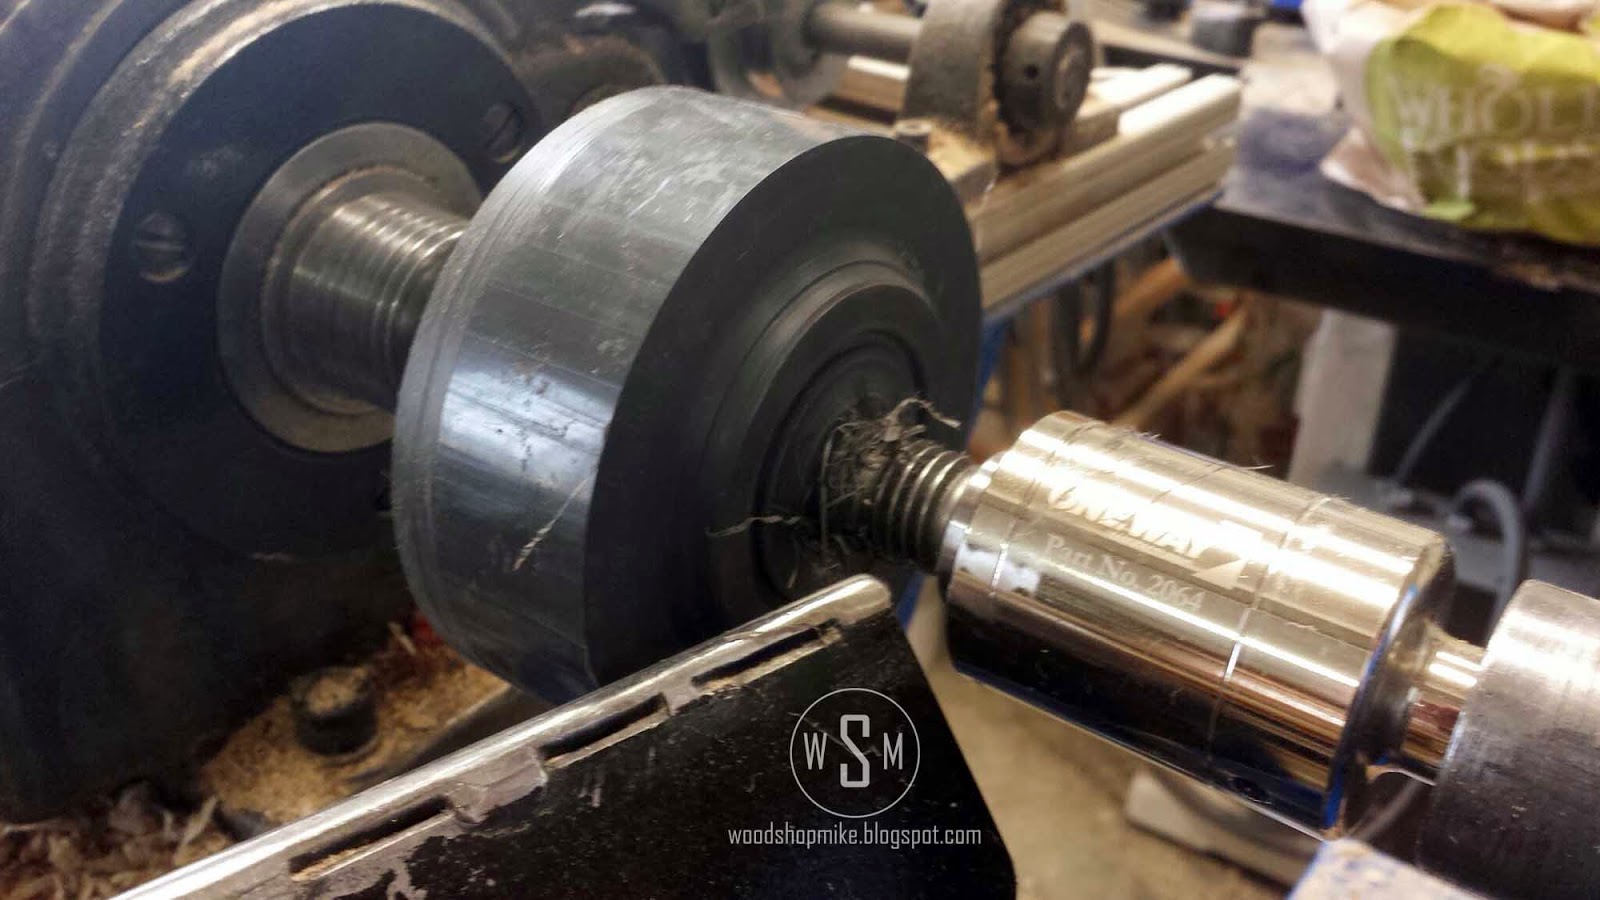
Ive now put the blank into the chuck and will do the majority of the work from this end. I start by truing up the face and diameter.
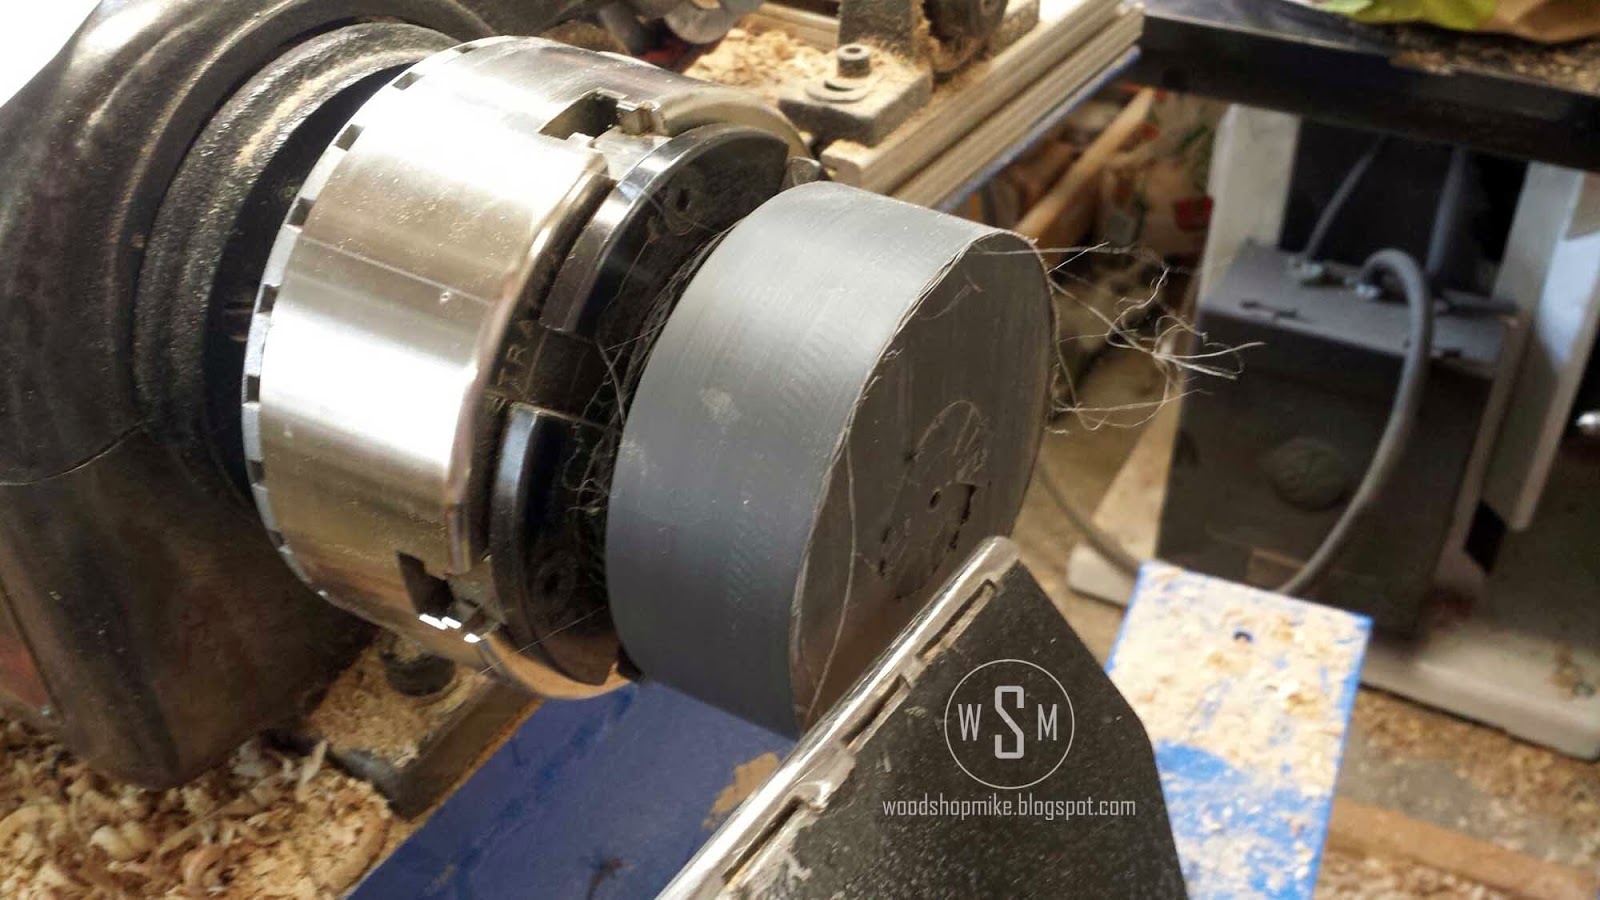
Next, I form the shoulder that will sit against the base of the spindle. I actually didnt have to cut a shoulder here, I could have left this surface flat across its diameter and the base flange would have worked just fine. I also make the o-ring groove that will actually be used now.
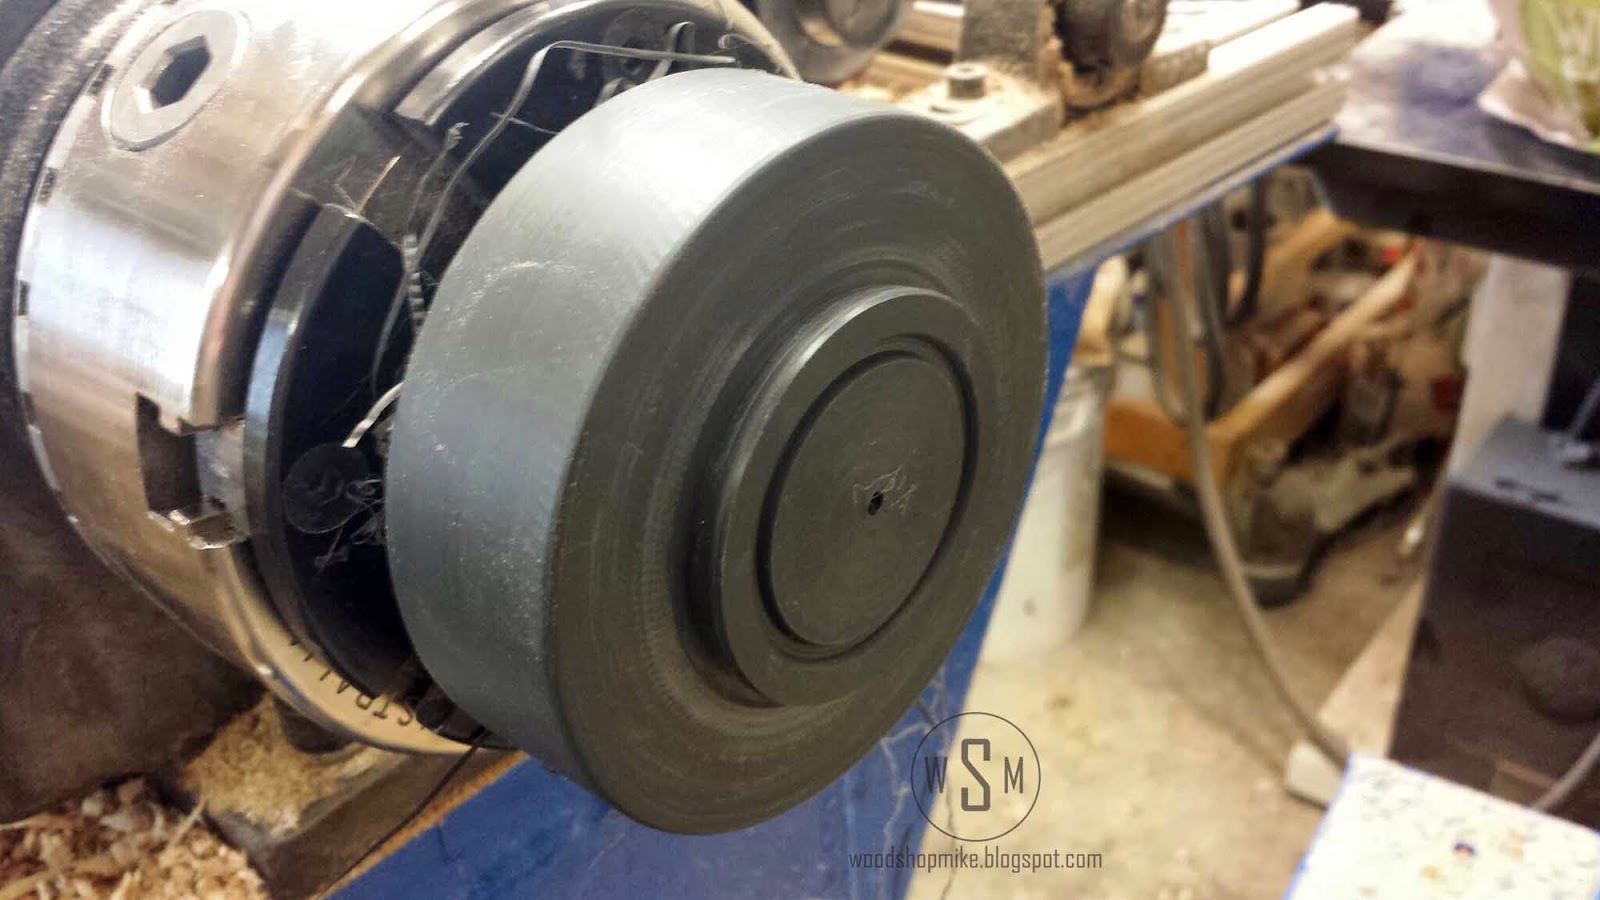
Now I move on to drilling out the center to begin the hollowing process. You dont have to drill out the center, but it does speed up the process a little.
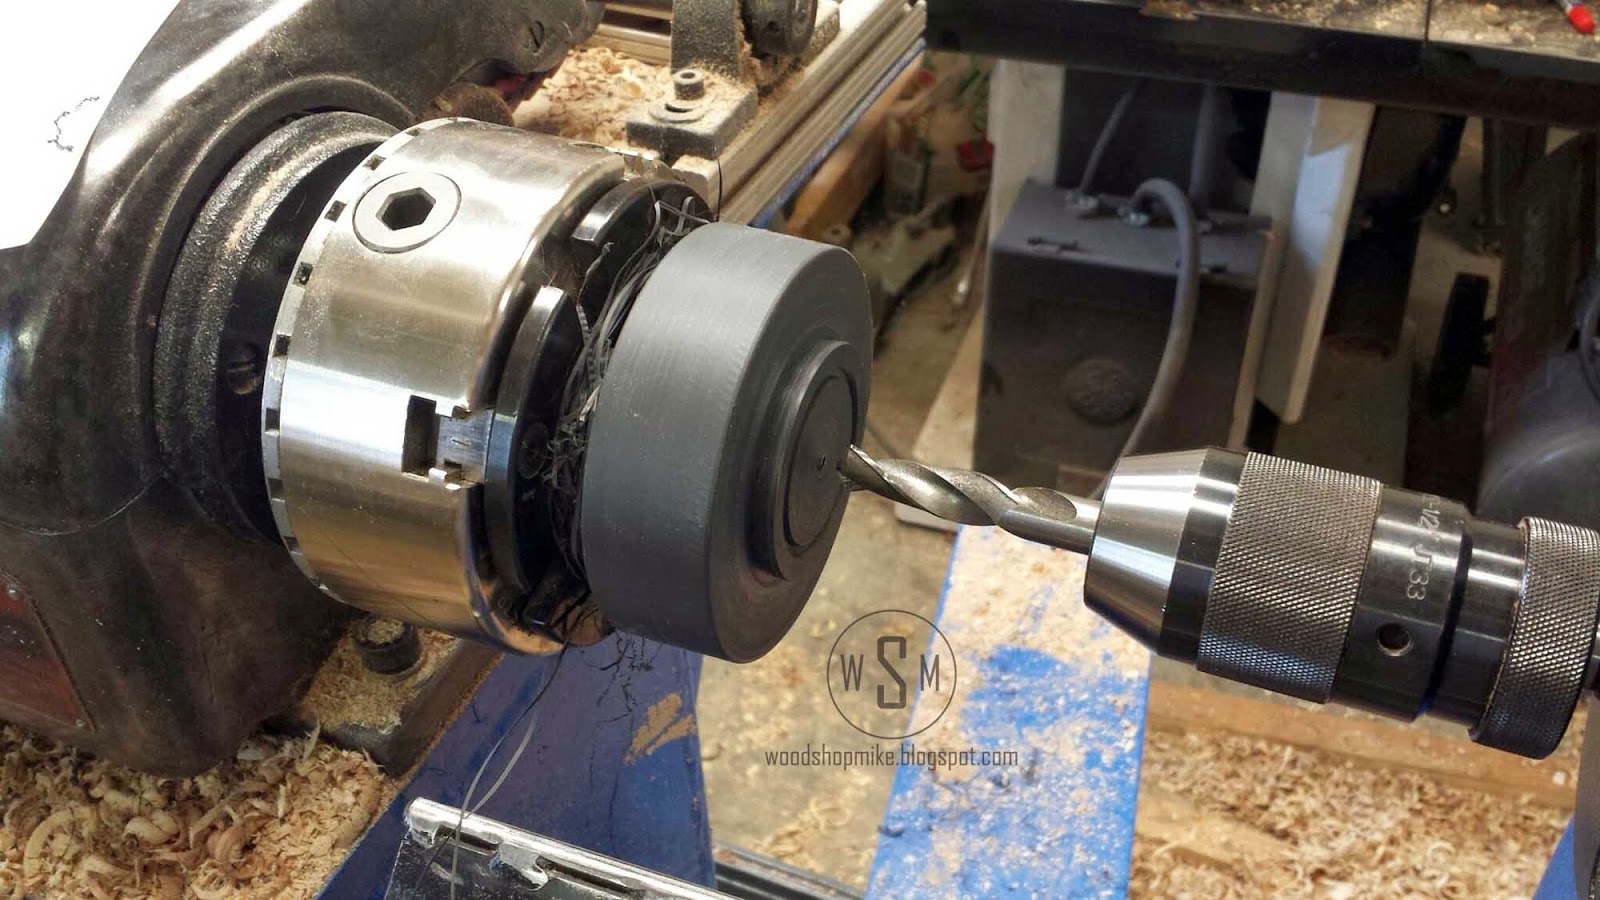
I used my 1/4 bowl gouge to remove the majority of the material. Once this tool began chattering too much, I switched to the scorpion hollowing tool to finish removing the majority of material. I trued up the walls with a scraper. This was a bit time consuming as the plastic likes to slowly push your tool off of its intended course and forms a taper instead of a straight walled hole.
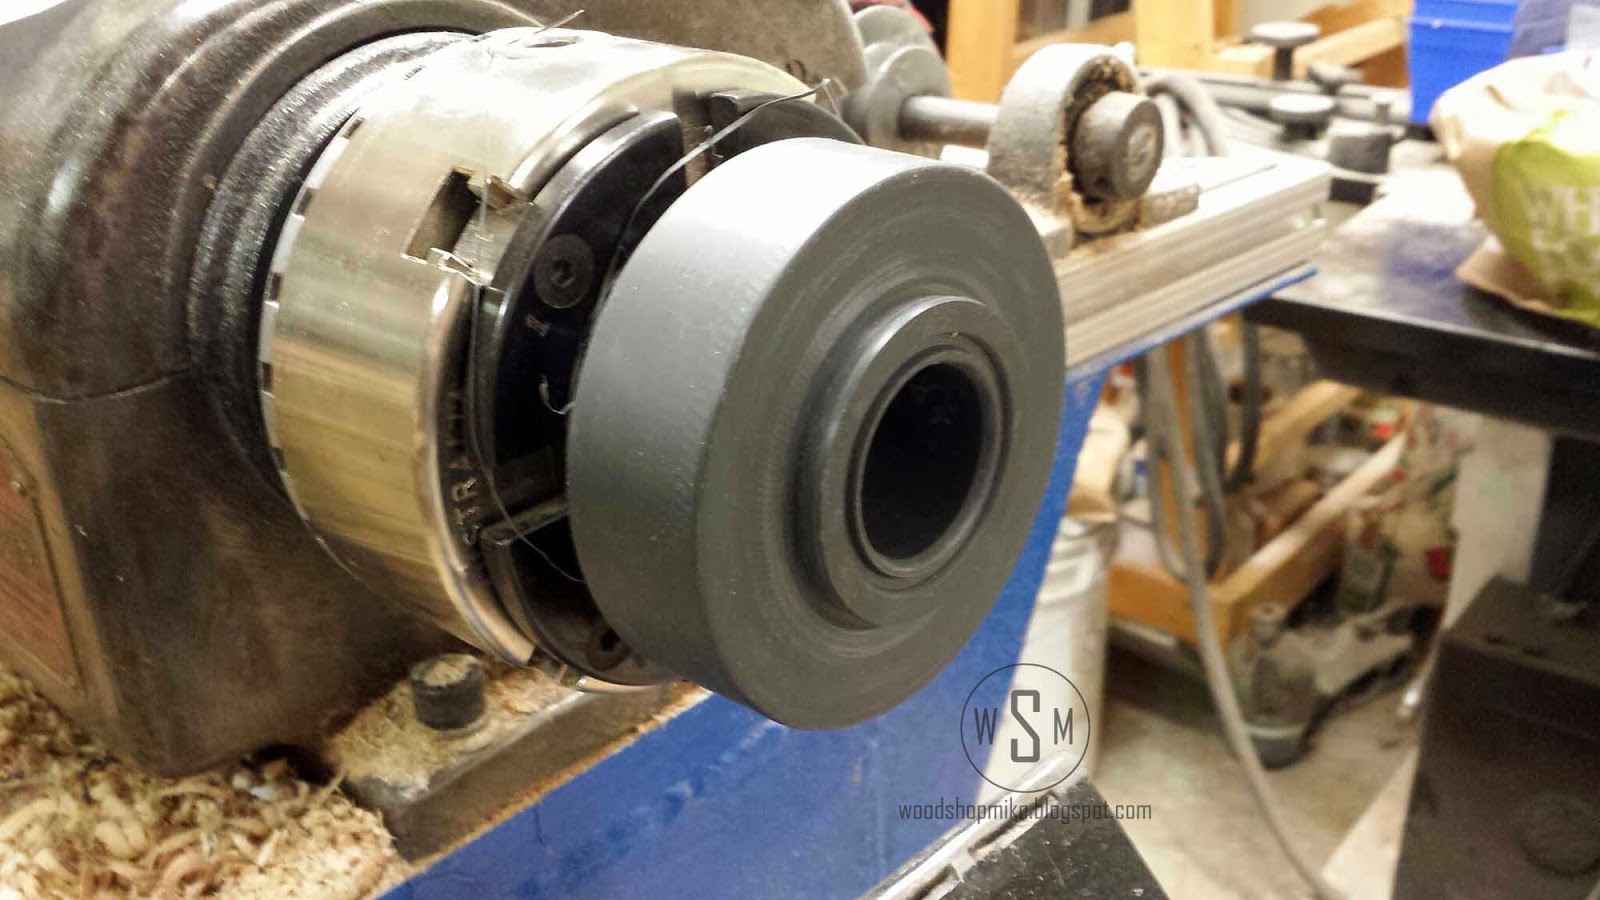
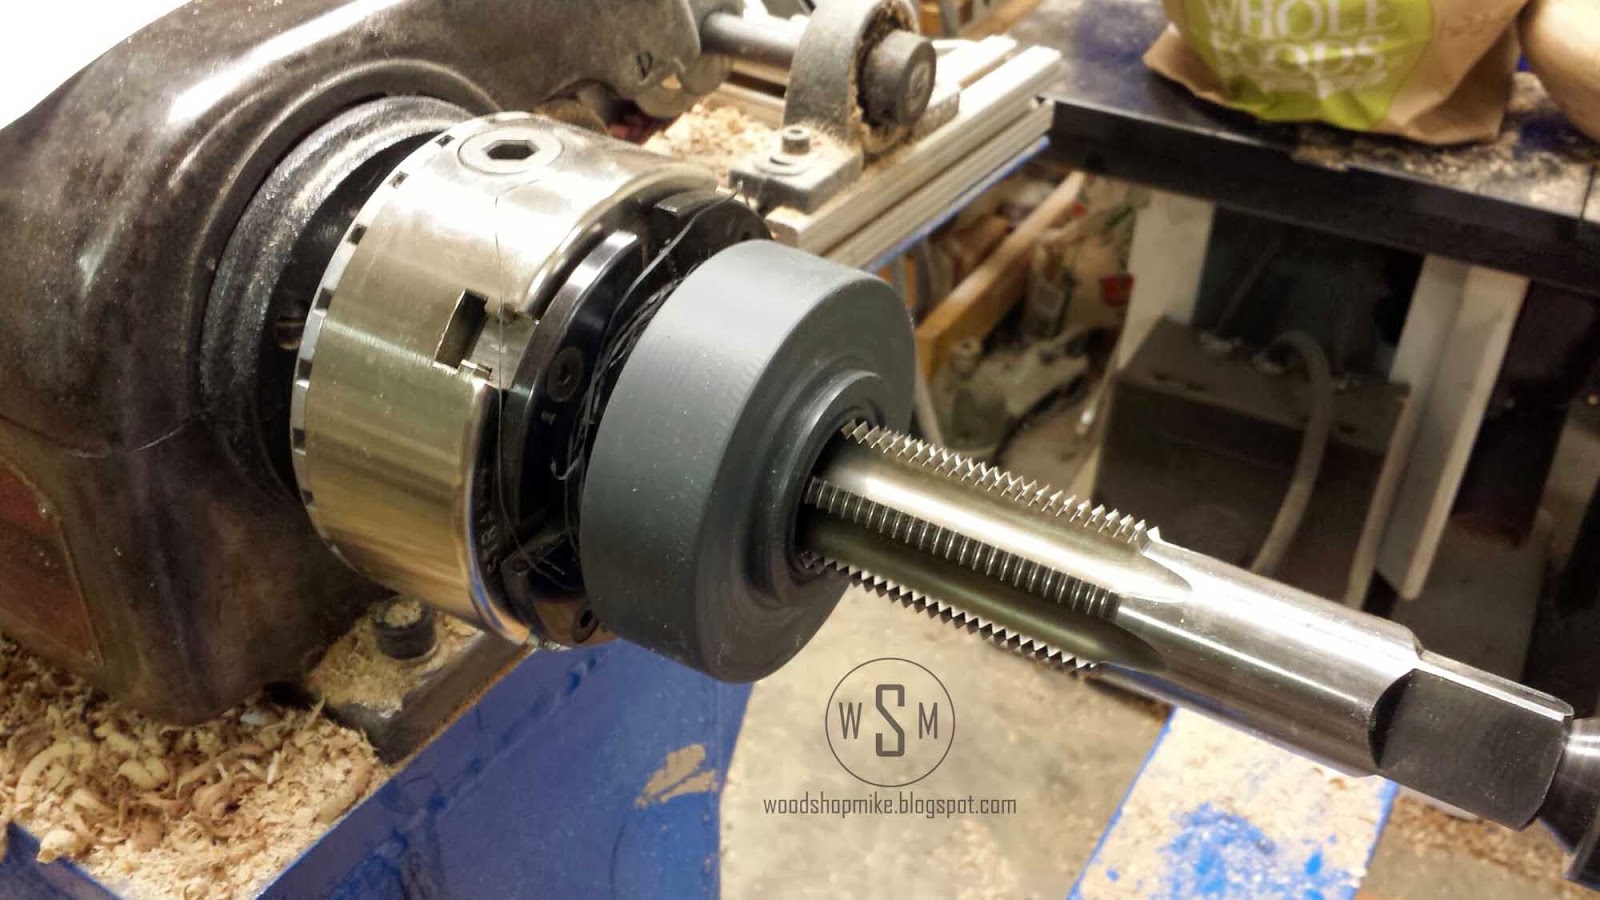
The spindle on my lathe is 1 1/2 x 8. A new tap in this size is quite expensive so I looked around on ebay until I found a good one what was used. I dont recall the brand of this tap, but it was about $25 instead of $100 for a new one.
Just like anything else, there are lots of ways to tap parts on the lathe. Most taps have a little hole in the top that is used with a nifty little device called a tap follower. A tap follower has a spring loaded pin that compresses against the top of a tap and provides downward force so that you can focus on turning the tap handle instead of having a buddy push against the quill while youre working. I dont have a tap follower so I did the following:
- Lock the spindle
- Put live center with center point in tailstock
- Slide tailstock in place and lock (proper placement is length of tap + a little... very scientific I know)
- Hold tap in place with left hand
- Slowly advance quill with right hand until live center contacts top of tap
- Maintain pressure on quill and switch hands so that the left hand is on quill advance handle/wheel
- Use combination wrench (or adjustable wrench) to turn tap
- Maintain pressure on quill to keep tap centered
- Retract tap every so often to clear chips and repeat steps 7-9 until tapped to desired depth
Sounds like fun, doesnt it? Yeah, tapping is kind of boring, but its cheaper than buying a bunch of faceplates! One last thing before you are finished with this set up is to cut a relief in the threads to match your spindle. On my lathe, the threads stop about 1/4" before the base of my spindle. If you dont remove these threads, the chuck will not fully seat on the spindle.
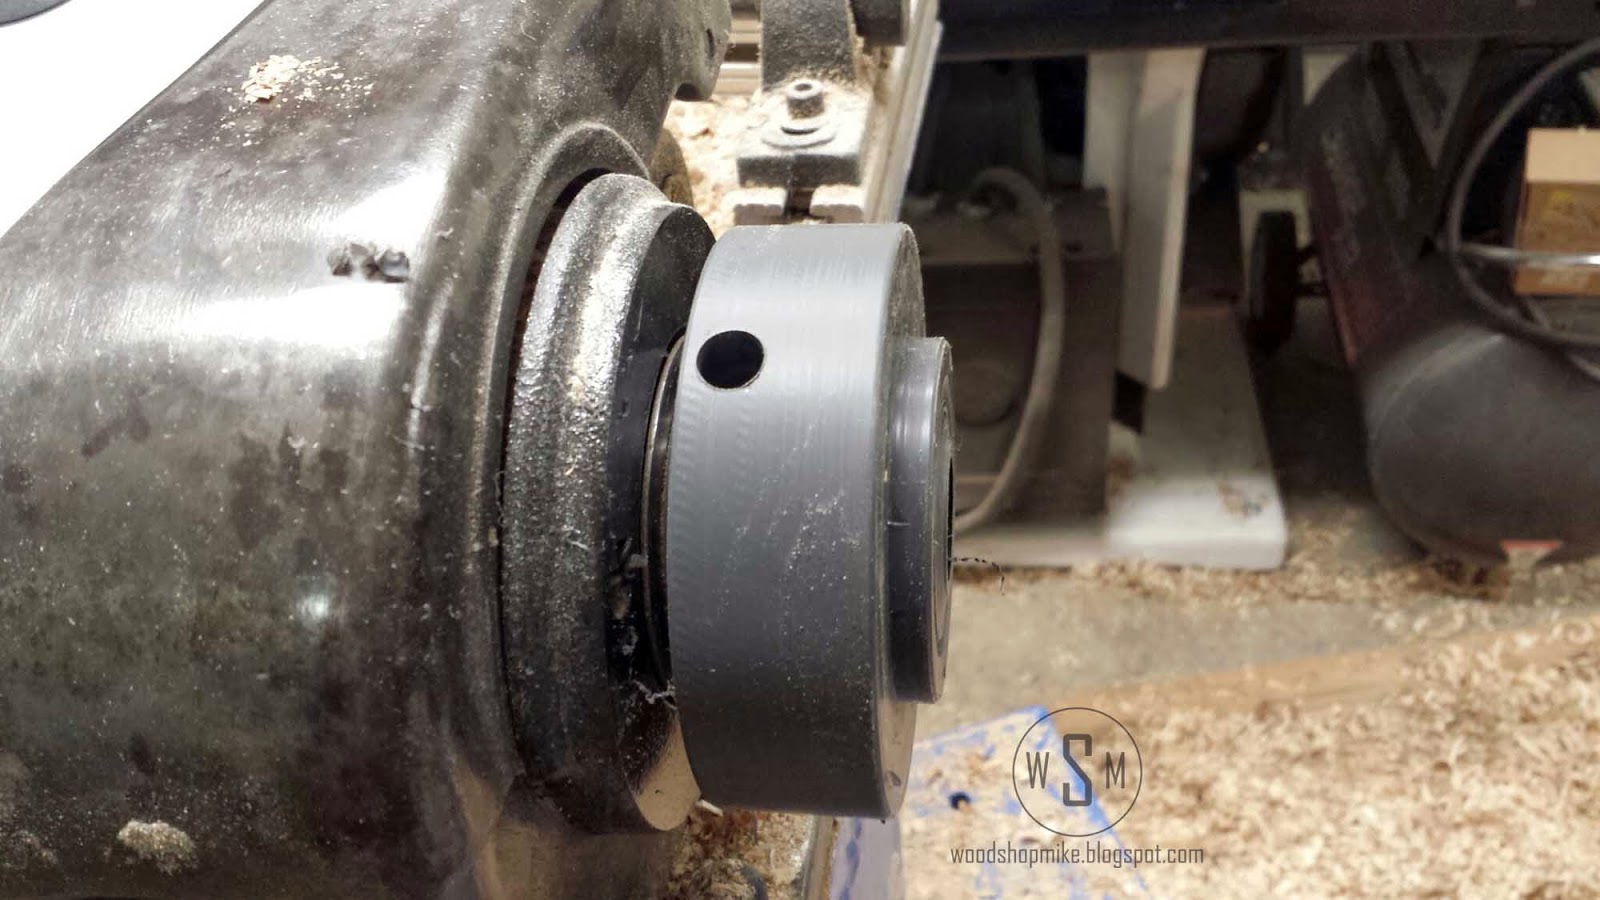
At this point I took the piece out of the chuck and threaded it onto the spindle. It fit!!! Ok, were done, go have a beer... I mean lemonade.
Were actually not done, but the majority of the "hard" work is behind us. I decided to drill a hole for a Tommy bar to help with removing the chuck. This is pretty much and optional step, but the added utility could come in handy. I drilled this hole to correspond with the Tommy bar that came with my chuck. Now I have one less tool to get lost around the lathe. I just used a cordless drill and eye balled with location making sure not to drill too close to the tapped hole.
Next Ill remove the tenon. I dont have to, but you can probably tell by now that I dont like stuff just left behind.

Now we need to reduce the OD so that the PVC coupling will fit. I want this to be a rather snug fit so I stop and check my progress often when Im getting close to my final dimension. Also, the more of the PVC couple that is in contact with the base flange, the stronger your chuck will be. I cut the shoulder to be about 3/4" deep.

I used liberal amounts of marine grade epoxy to join to two pieces. Look...the original attempt at making a vacuum chuck came in handy! I used the tailstock to put equal clamping force on the assembly as the epoxy cured.
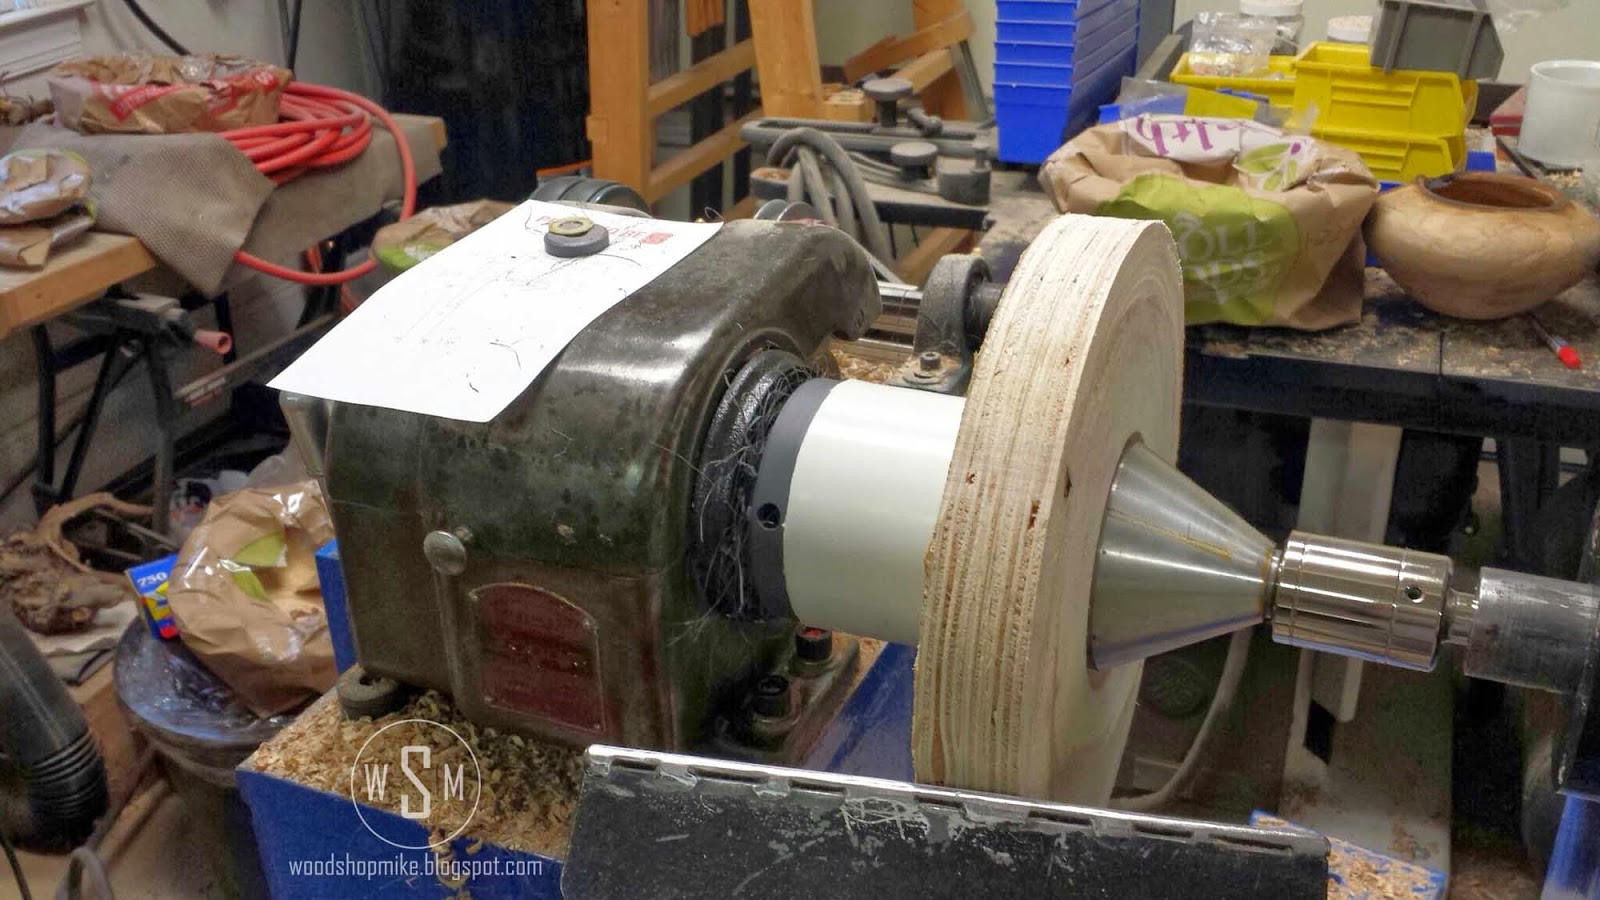
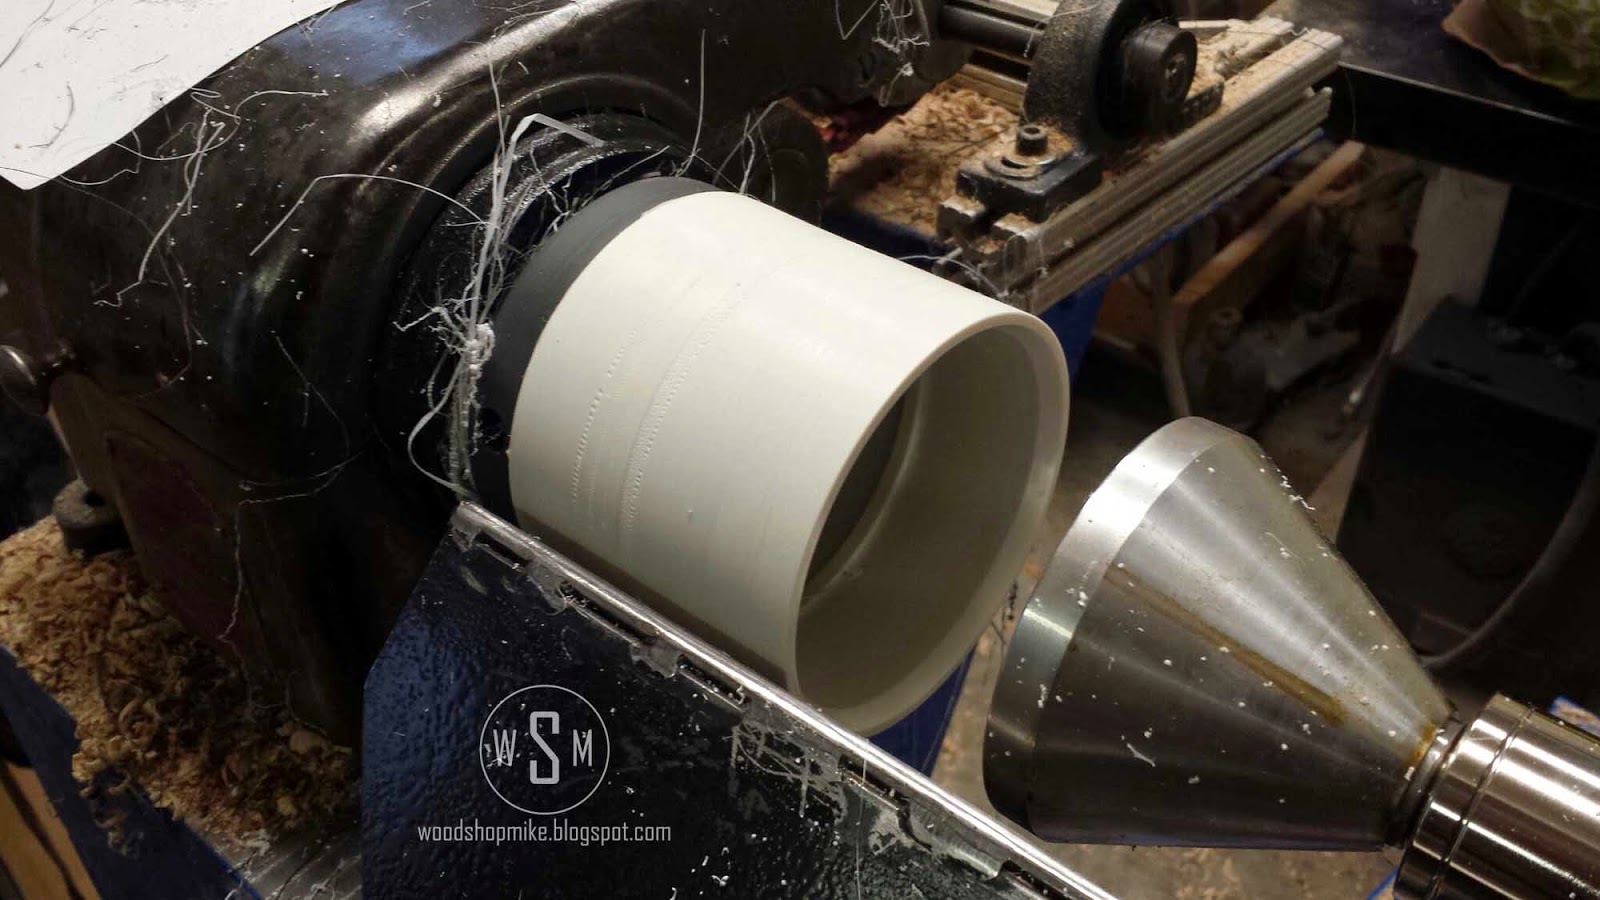
Now I reduced my spindle speed and turned on the lathe to see how true the assembly ran. To my surprise, it was pretty good! I did still want to clean up the PVC coupling just a little, but it was pretty quick work.
Wow, Mike, when did you get granite work benches? So, its winter... And I just didnt feel like freezing while I put the o-ring in place. For this I used o-ring cord stock and the marine grade epoxy. A flat gasket would also work well to seal between the chuck body and spindle, but I had o-ring stock so here goes. I start by laying the stock into the o-ring groove and cutting off the appropriate amount. I also tore off two pieces of tap to hold the o-ring in place while the epoxy cured.
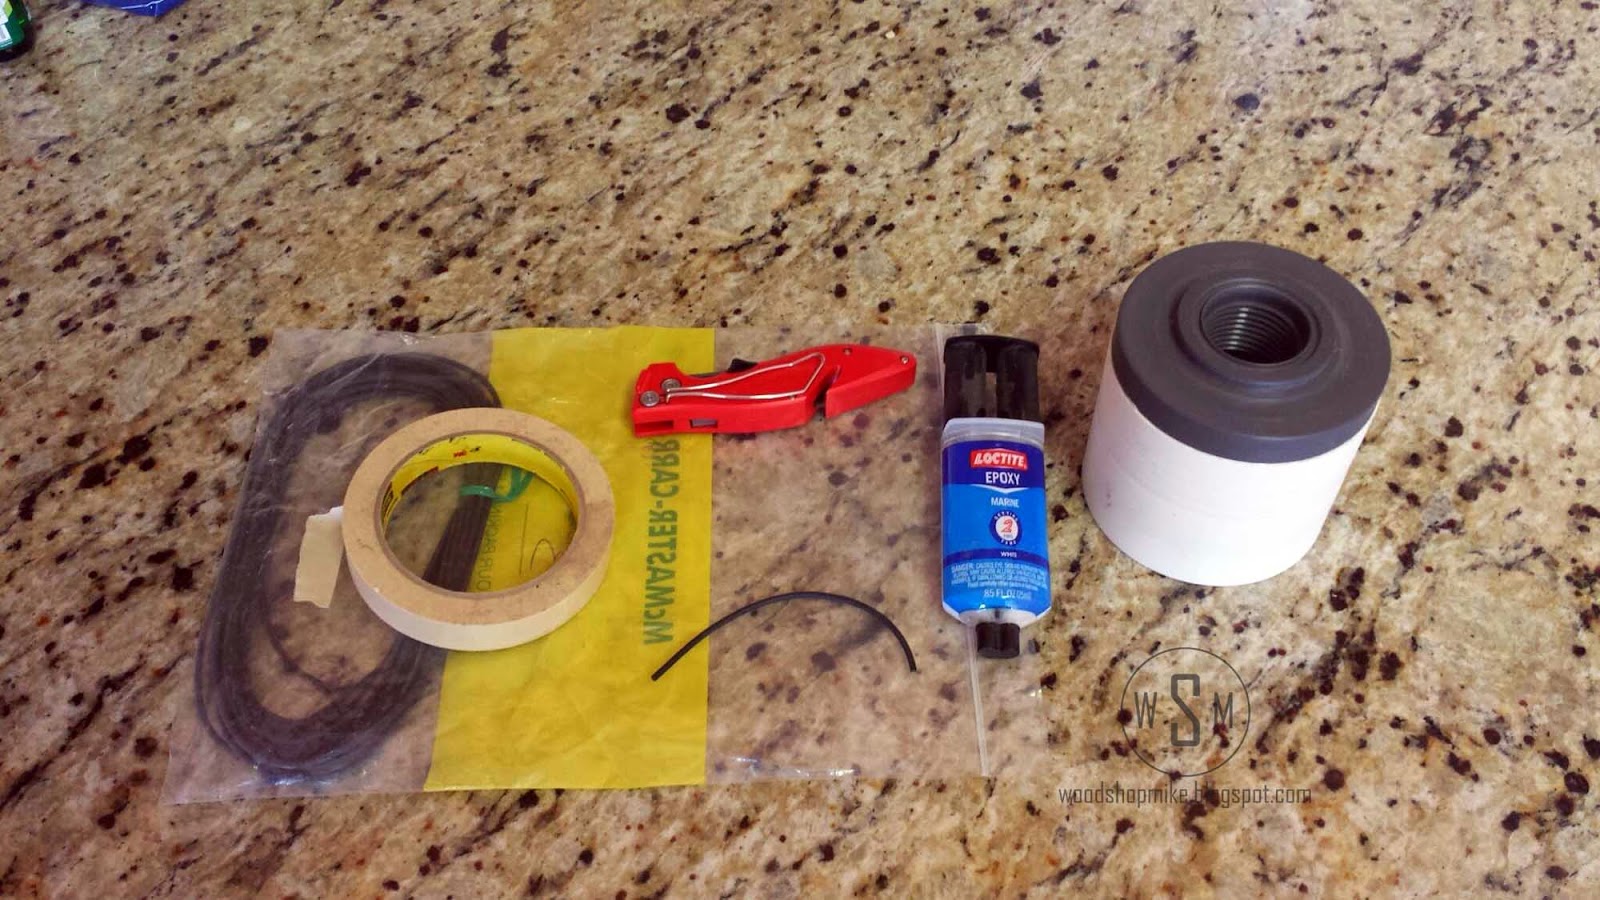
I then mix up the epoxy and spread it into the groove using the center of a toothpick that I broke in half. Next, I lay to o-ring in place, getting as much epoxy on my hands as possible and lay down the tap to hold it in place while the epoxy cures.

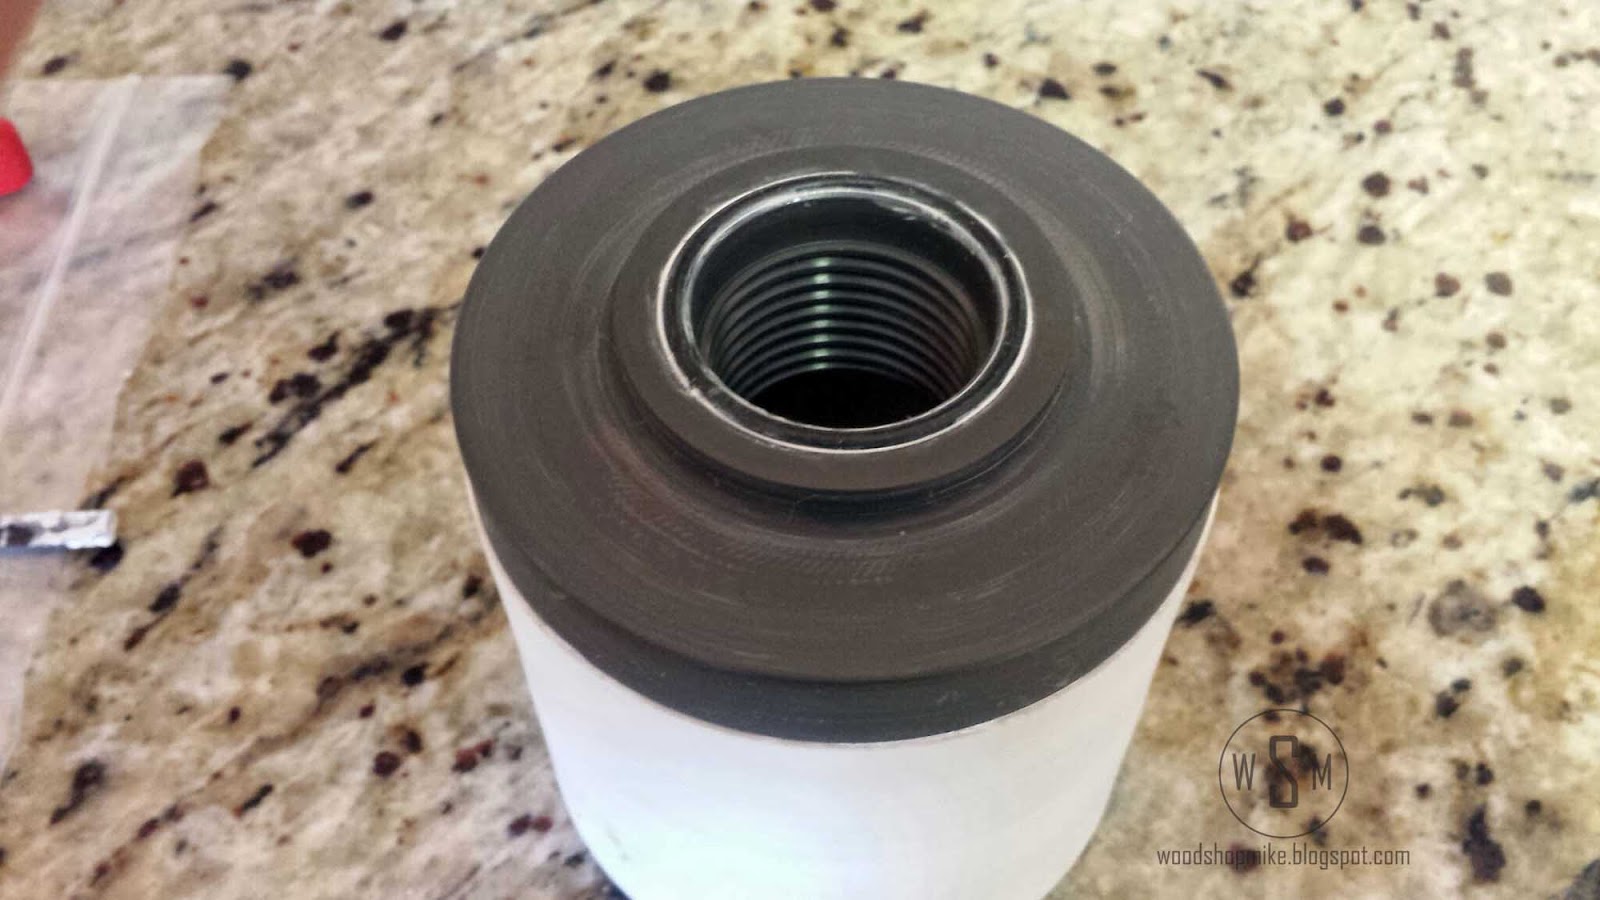
The last step is to make a sealing surface on the business end of the vacuum chuck. For this I used sticky backed foam weather striping that can be found at most home improvement store. I had no idea just how sticky this stuff is. WOW!!! Be prepared to destroy the first strip you try to use. I wrapped one layer on the inside of the drum and another on top of the first layer.
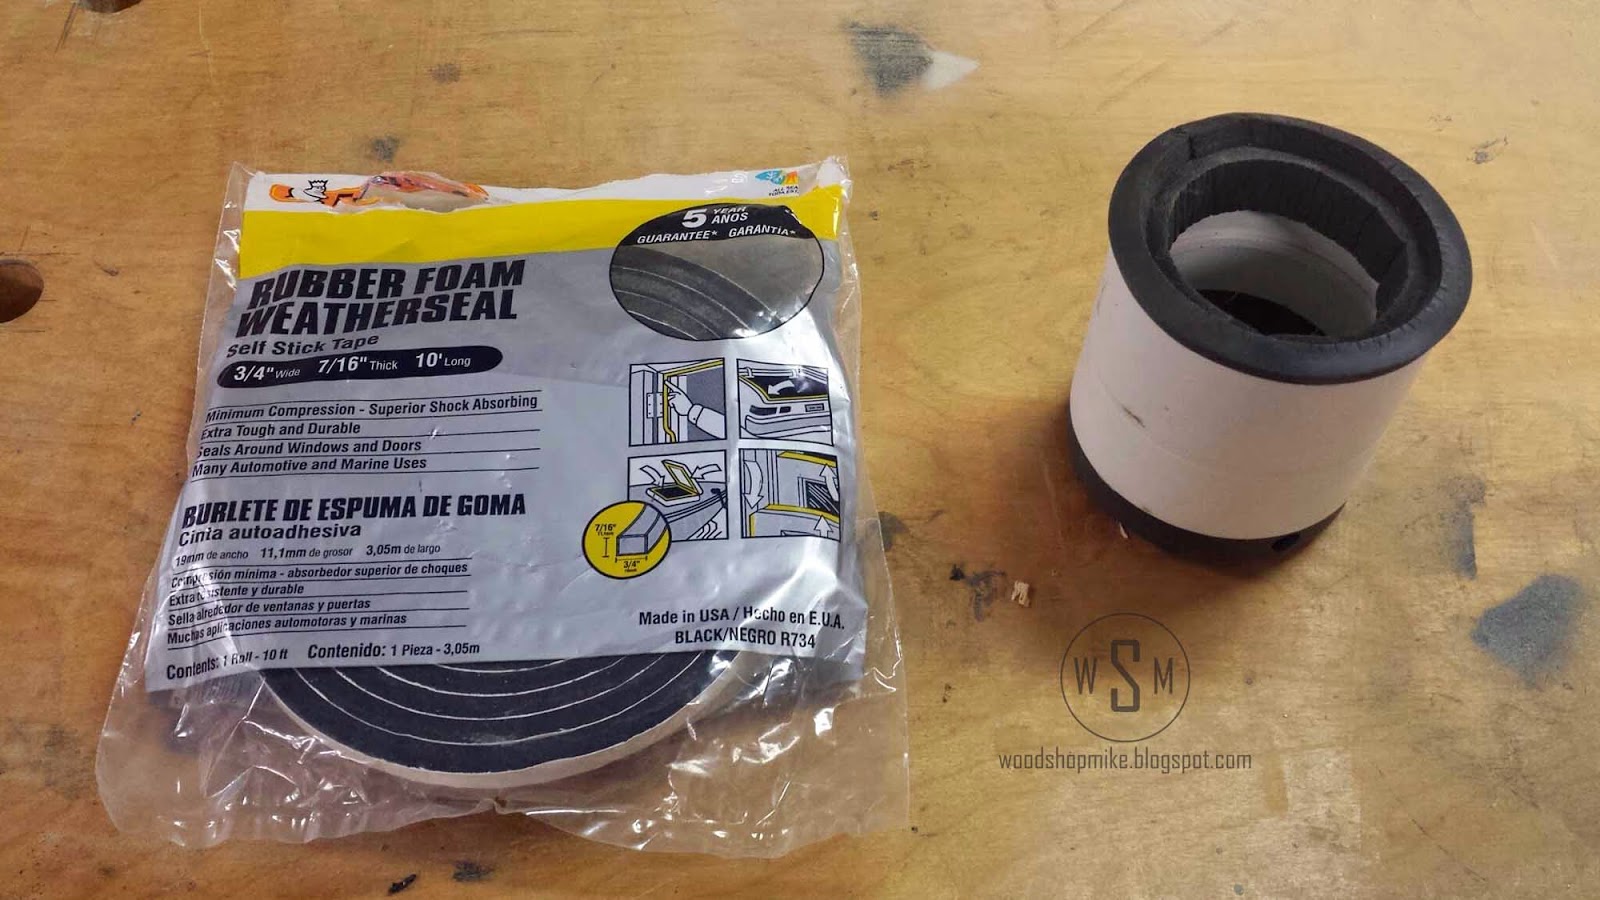
Well, theres it is! Thanks for reading and as always if you made one, have suggestions or questions just let me know!


0 komentar:
Posting Komentar